 A little over a month ago our kitchen faucet started acting up. It worked fine, but something was broken in the handle that made the handle really loose and it would swivel. So for my birthday, my parents offered to by a new faucet for me. Vernal joined me in the fun of picking out a new faucet at Lowe's - we both had our eye on the same one.
So here are a few pictures and a narrative in how to install a faucet for a kitchen sink.
 It is really important to have good music to listen to while you work. I had to listen to one of the albums (shown above) for the pun and irony.
 BEFORE: This was our old faucet. Say "goodbye faucet." I will have to disconnect the pipes and remove the faucet, before I can do anything else.
 Underneath the Sink: hmmm! This is going to be tricky. I stick my head under to take a look. How am I going to do this? There is a disposal in the way and the threshold of the cabinet is really uncomfortable on my back.
 I use telephone books, towels, and rugs to build up a level and soft surface for me to lay on my back and be able to bet back into the area of work.
 This is the view I have when I get behind the disposal. I need to unhook those pipes and unscrew the nuts that hold the faucet.
 After everything is unhooked, I pulled the faucet out of the sink. It was pretty dirty underneath the putty on the base.
 I cleaned up all the holes and now I am reand to install the new faucet.
 Anytime I stepped away from the work area, I had a young helper who was ready to jump in and make sure the work got done. Goose loves projects and is very hands on.
 I had to take a break from the sink when my dad came over. I needed an extra hand to help me put together this swingset. It was our neighbors (they are getting a new one). They asked if we'd like. There were just a few parts that we needed to reassemble - it was mostly 'put together.' It didn't take to long.
 Back to the faucet. Next I had to apply some plumber's putty to the bottom of the base.
 And then place the base in the right spot. Next put the new faucet in place and attach it to the sink and then connect the new flexible pipes/tubes to the existing vaulve pipes and the the job is done.
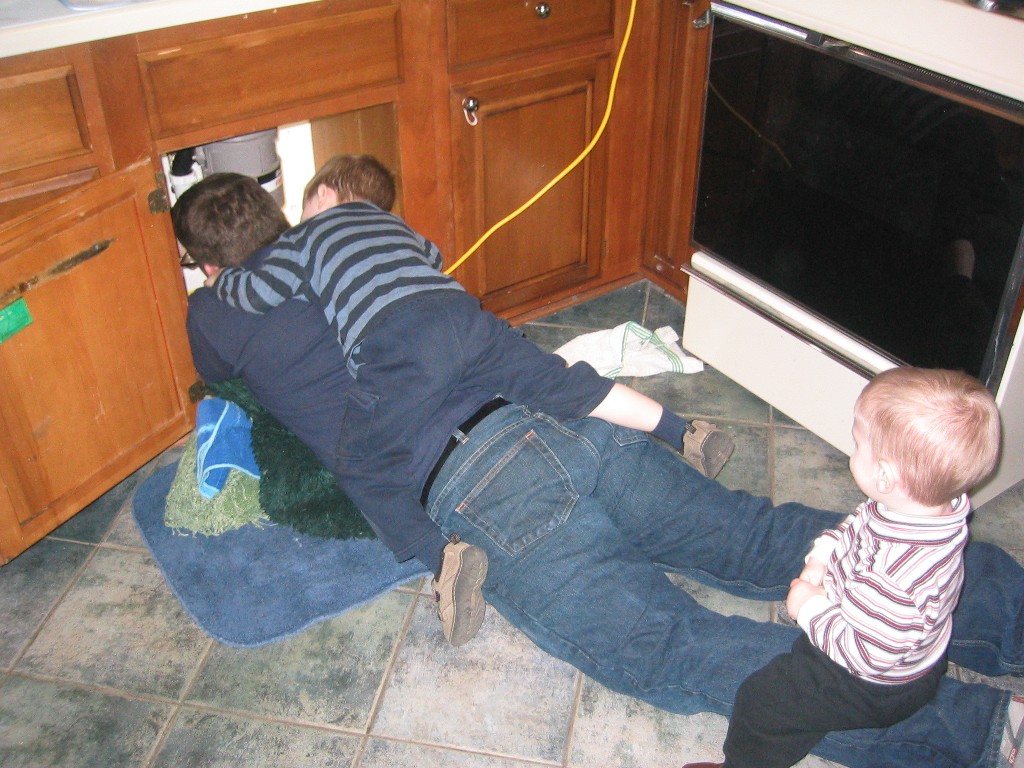 With small boys who are curious, it is expected of them to find ways to watch and to get involved (or maybe just find a good seat.)
 After: The job is complete.


9 comments:
Impressive!
I've always hated the threshold under the sink. don't people know that the only time you really have to get under there is when you're on your back trying to unscrew something that was installed to be there forever!
Nice Faucet.
The bold look of kohler...
Nice. How'd you figure out how to replace the faucet? Did it come with instructions? I ask this as someone who is anything but a handyman.
Yes, it came with instructions. Nice pictures on one page. I was suprised how easy and simple the installation was. The hard part is getting started, getting your body comfortable to get under and behind the sink in very tight quarters, and then removing the old faucet. -And all of that was not real difficult.
So basically, it was a peace of cake.
All the parts and pieces are there, so its not like you are putting in new pipes and doing "real plumbing."
The idea of messing at all with plumbing concerns me greatly.
Just make sure you turn your water valve off for both the hot and cold.
Let me know if you have a project like this, I'd be happy to walk you through it. Really, it's not that hard.
It may not be too long. Our kitchen and bathroom faucets both have small leaks.
I am impressed! The faucet looks great and the swingset looks very cool!
We want an update from the equinox!
Post a Comment